
Some of us at DownWind Outdoors are known for our obsessive personalities. First, we became obsessed with guns and eventually that led to being obsessed with the need to make our babies shoot and perform as good as they look. That is exactly how we started reloading our own ammunition, an obsession with guns that led to a bigger obsession with perfection. We aren’t exactly shooting at thousand-yard competitions, but when a coyote is holed up several football fields away, it is nice to know that a missed shot will never be due to faulty ammo. There are many variables that affect accuracy, velocity spread, pressure variation, and standard deviation, and case preparation is certainly one of them. This article is a step-by-step tutorial of our process for preparing cases that take care of those coyotes that don’t want to play up close.
This process is for new cases that have not already been fired in your rifle (fire formed). Once fire formed we usually omit steps 1, 4, 5, and 6 unless chambering becomes difficult. In that case, we would re-perform step 1.
Step 1
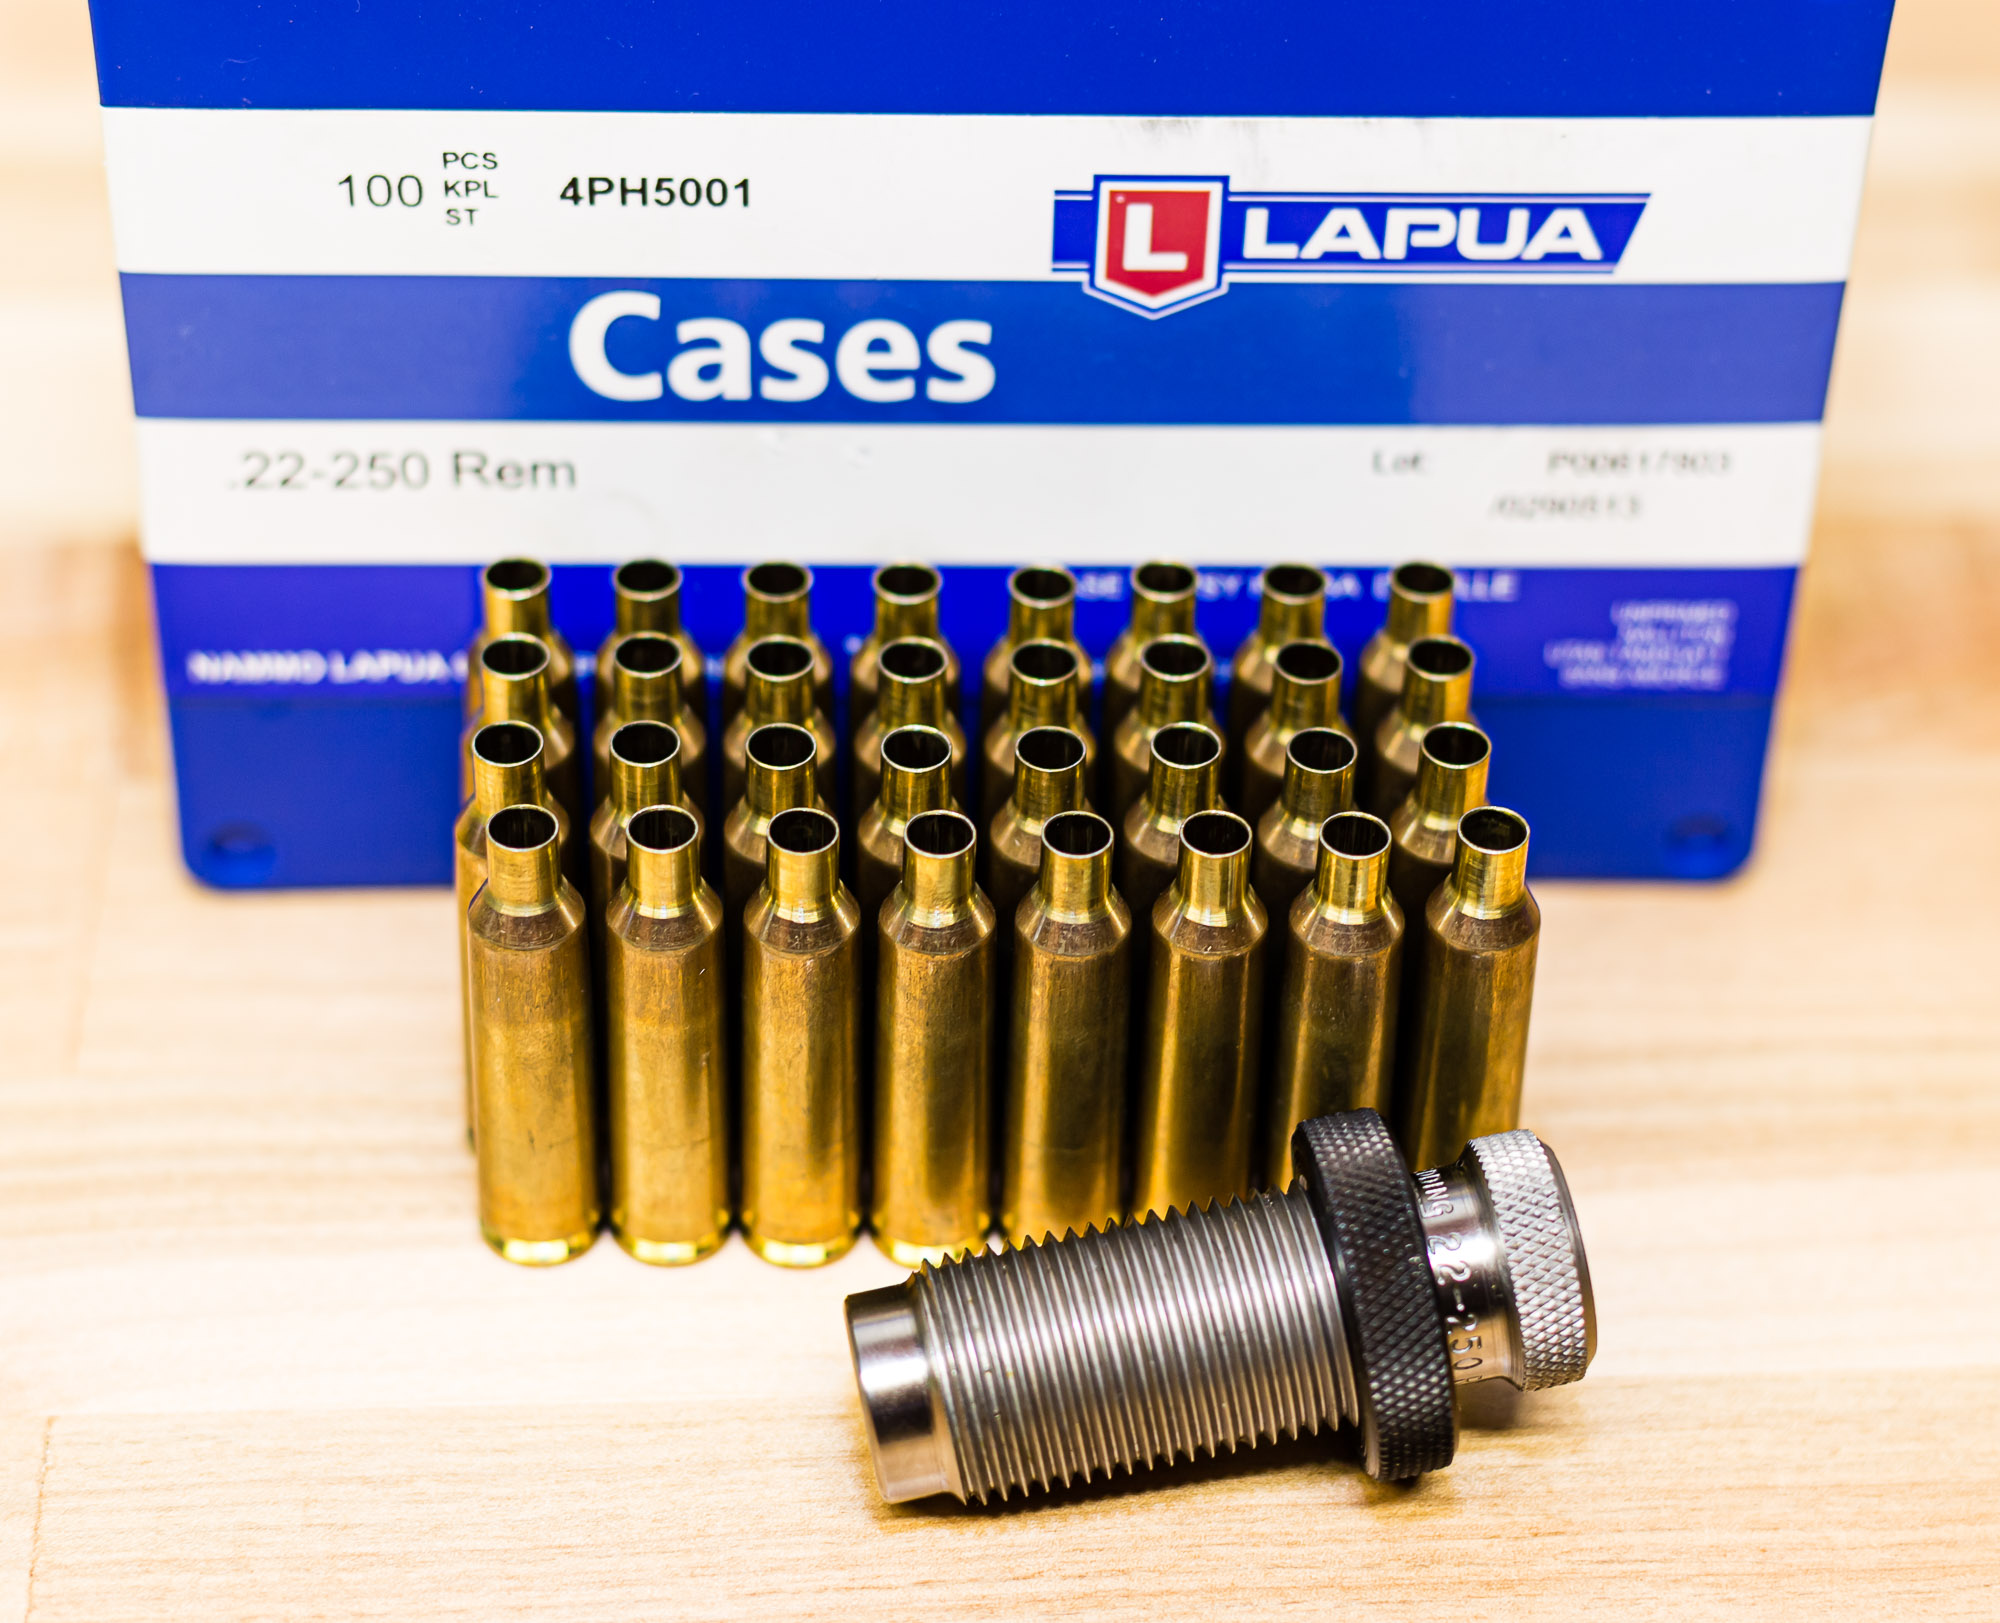
WHY: Full-length sizing gives consistent dimensions on the shoulder junction (See Step 5: Turning the Case Necks for details). Full-length sizing will allow the neck Turner cutter to contact the shoulder at the same place on every case.
HOW: Follow the instructions that come with the full-length body die. The full body die setup is the standard initial setup similar for all dies.
Step 2
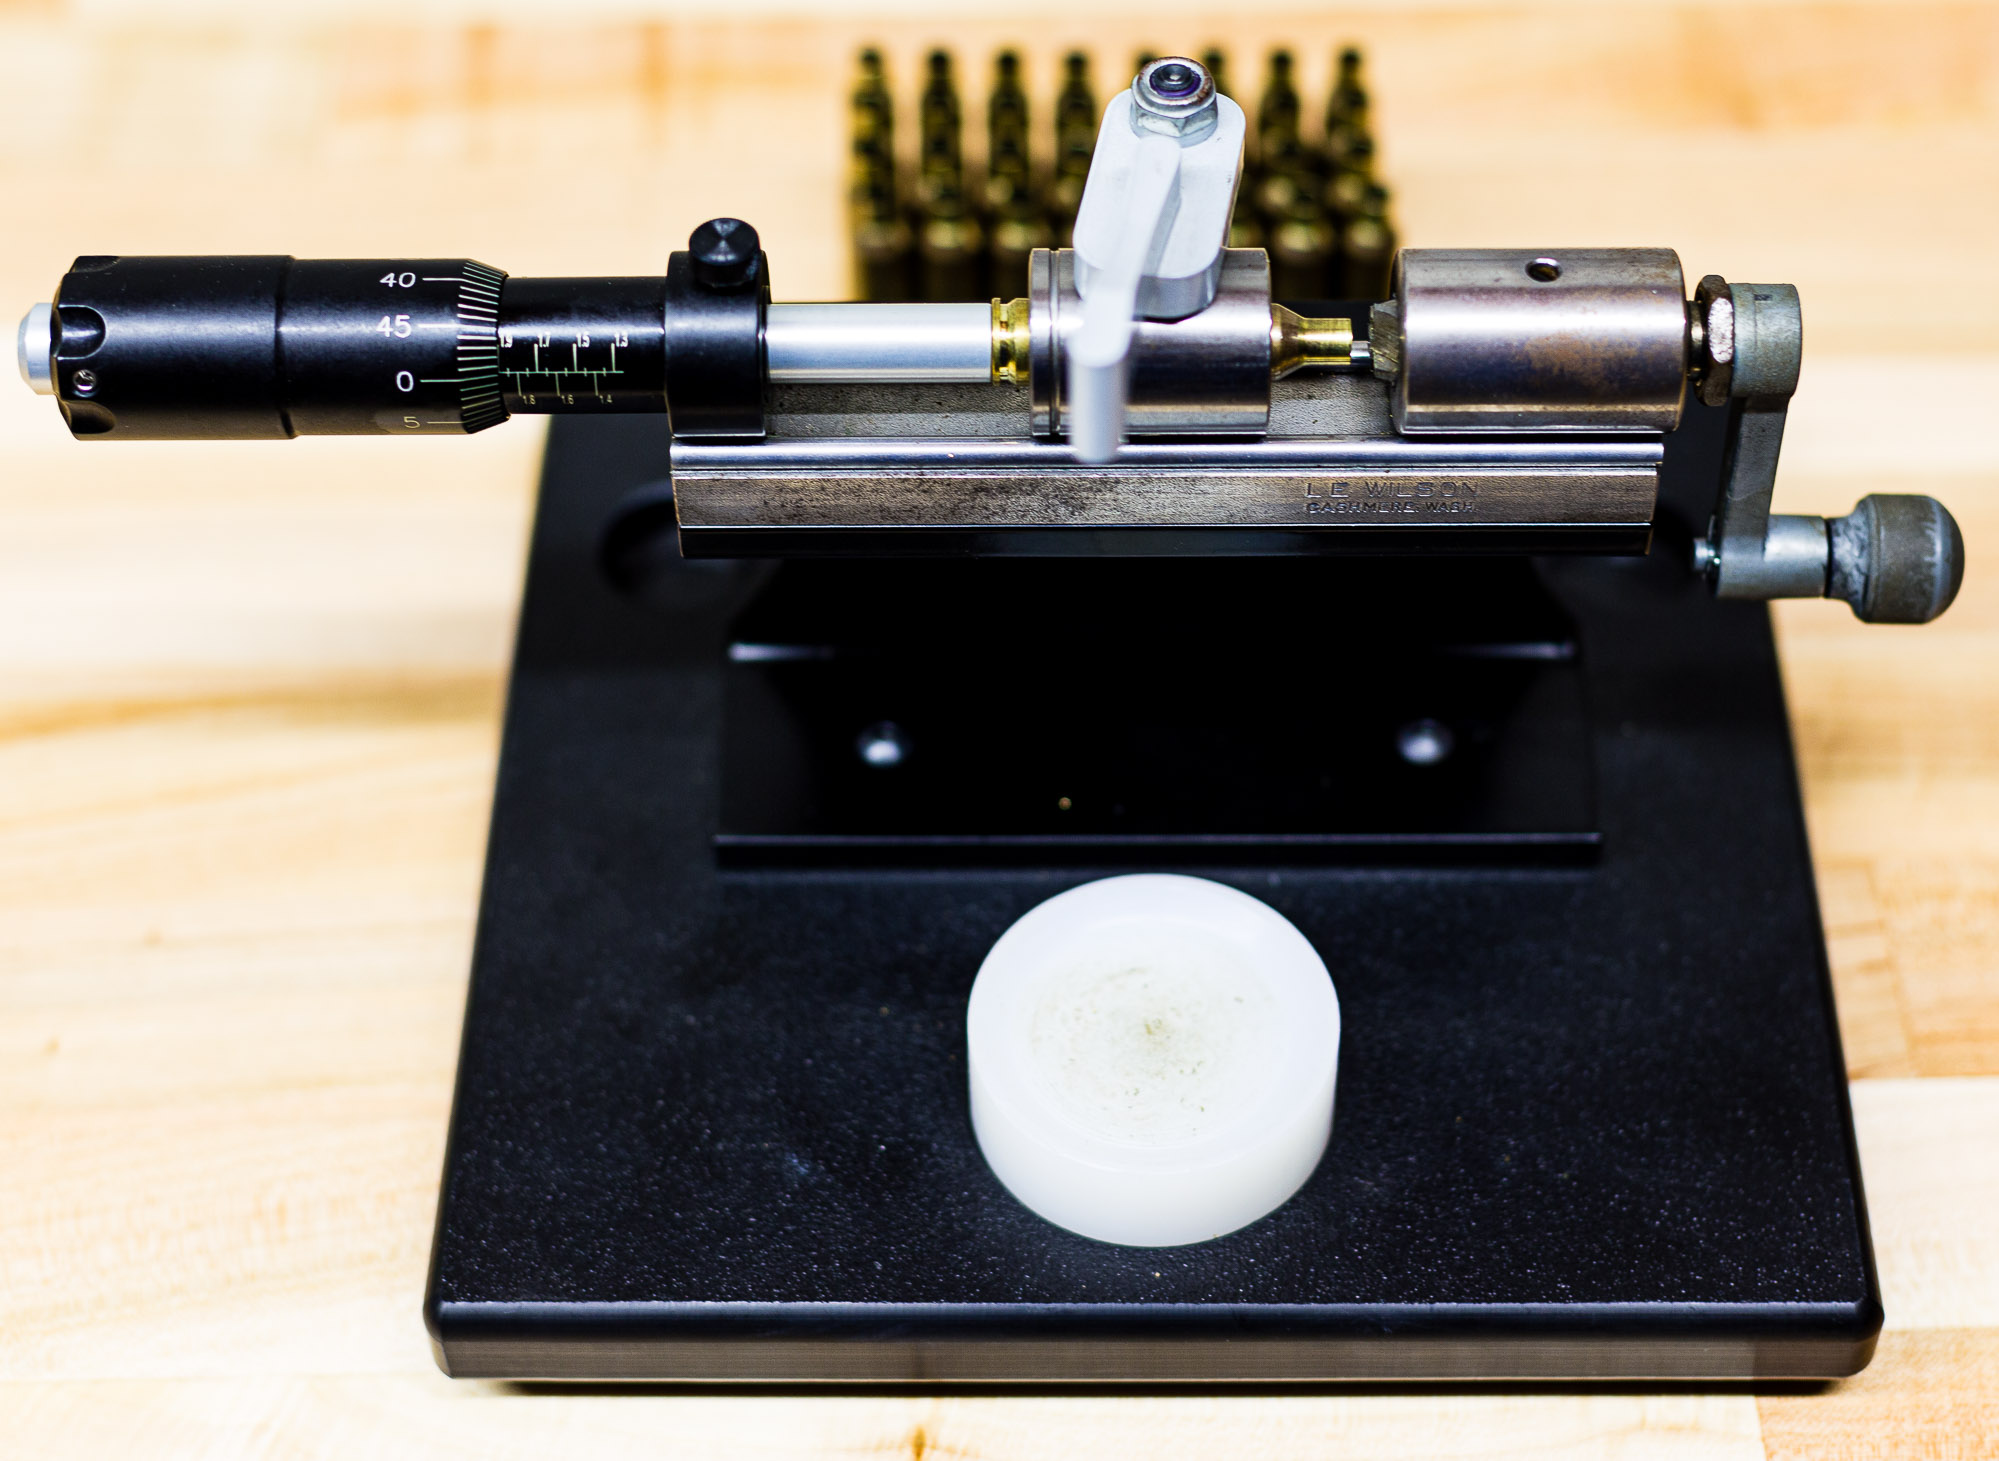
WHY: Trimming cases to length helps create an exact overall case length across all of your cartridges. The process involves shaving down the neck at the mouth with a case trimmer. This method, like full-length sizing, will assist in giving accurate neck turning cuts. Also, having exact neck lengths will provide the same bullet gripping surface from case to case.
HOW: Shown is a quality case trimmer from L.E. Wilson. It provides a stainless steel construction and, when combined with one of their case holders, it will trim cases fast and accurately.
Step 3
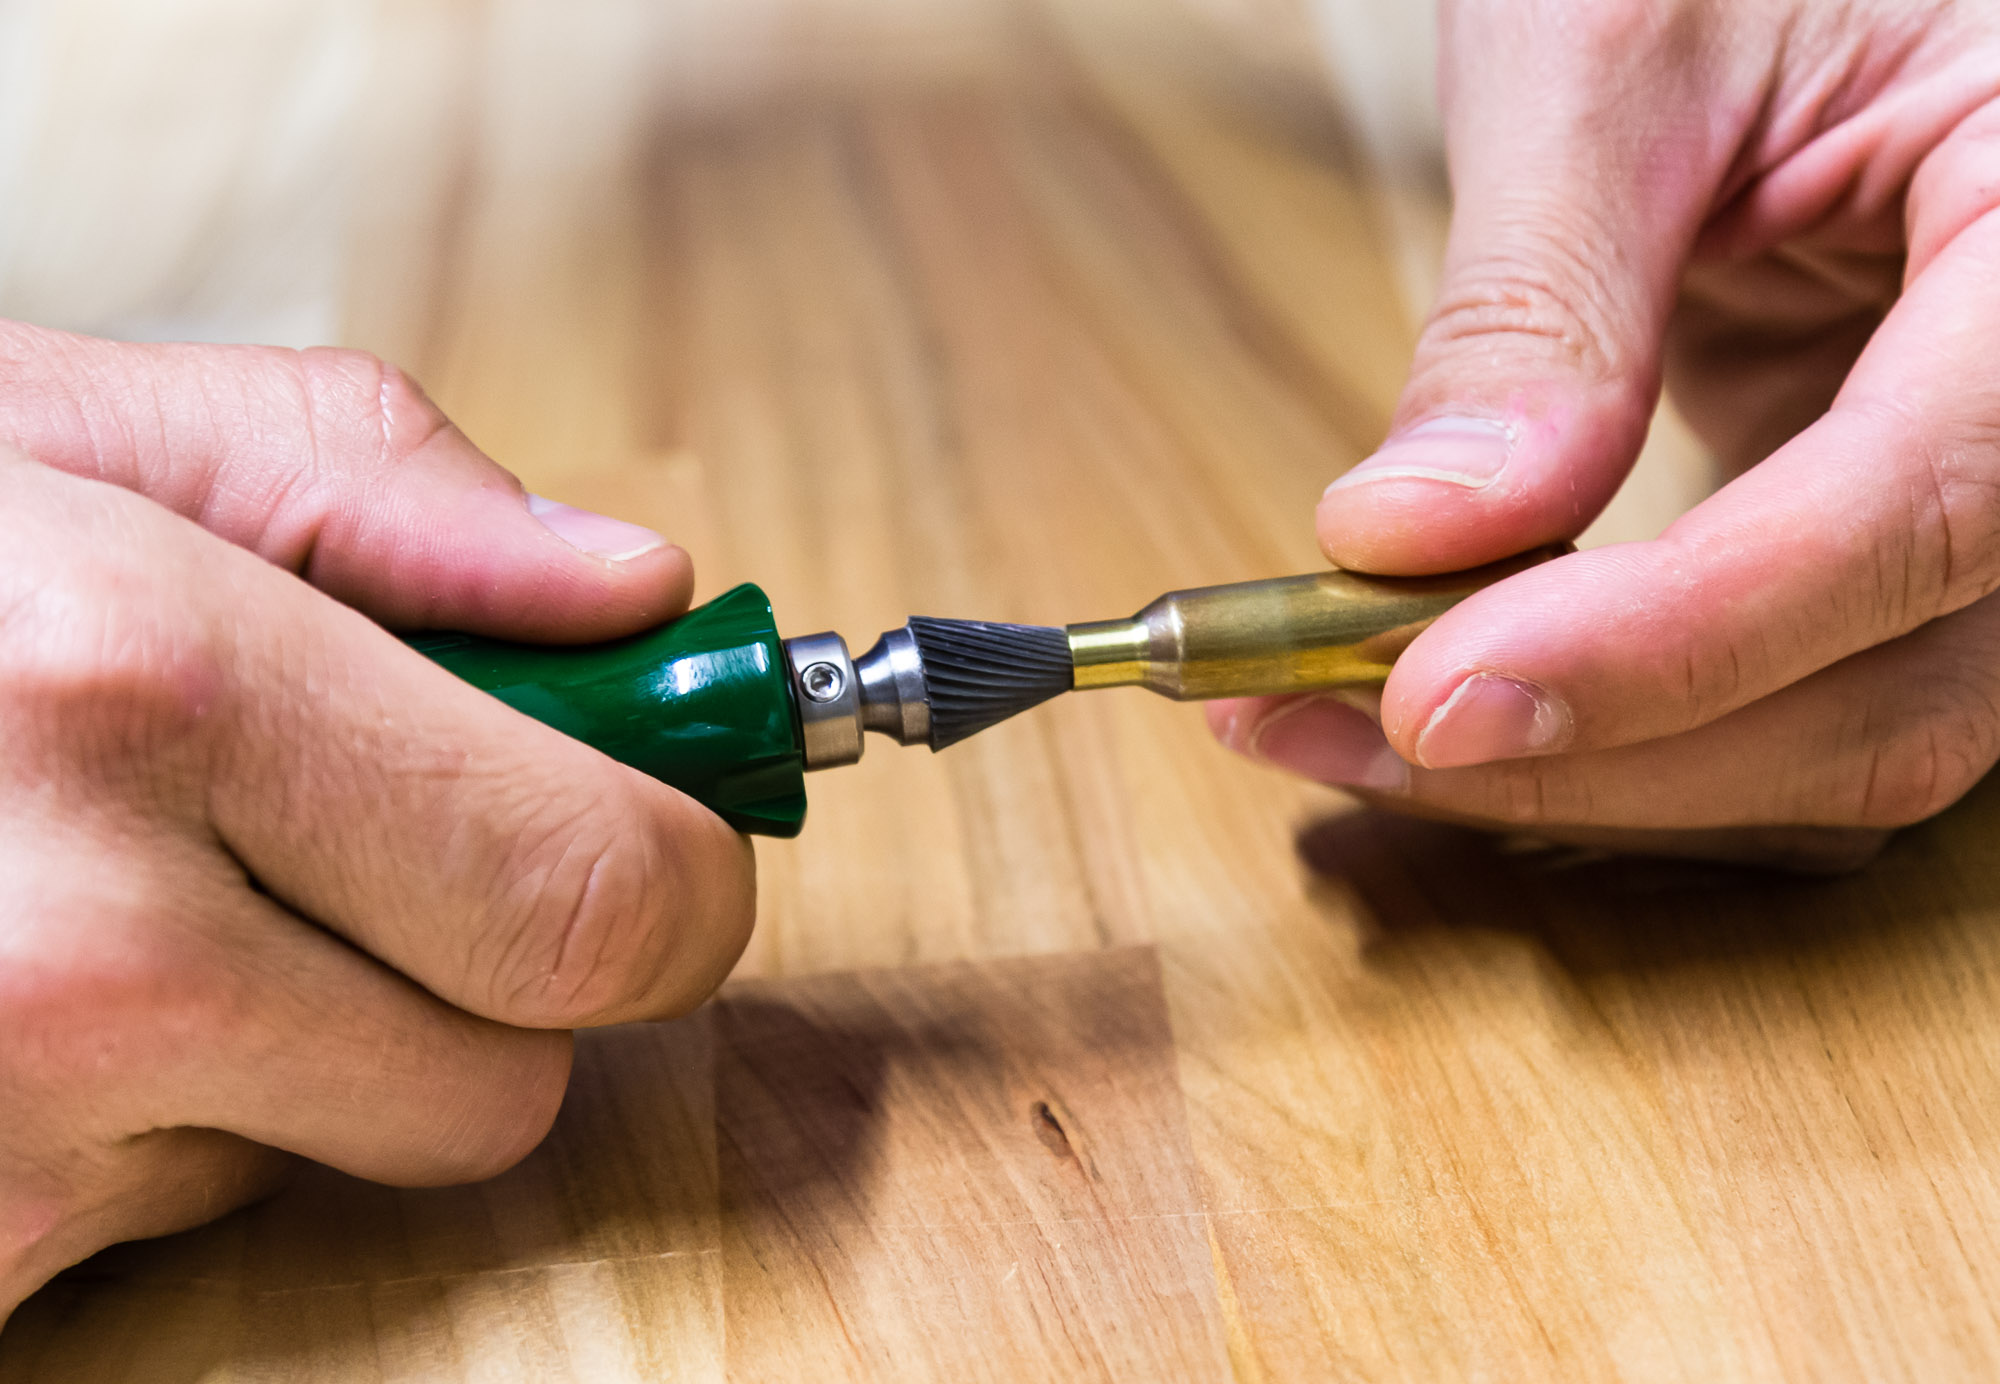
WHY: From the previous case trimming step, the end of the cases at the mouth will contain burs from the trimmer. Chamfering the case mouth will remove these burs and allow bullets to slide more easily into the case mouth without gouging and scratching them.
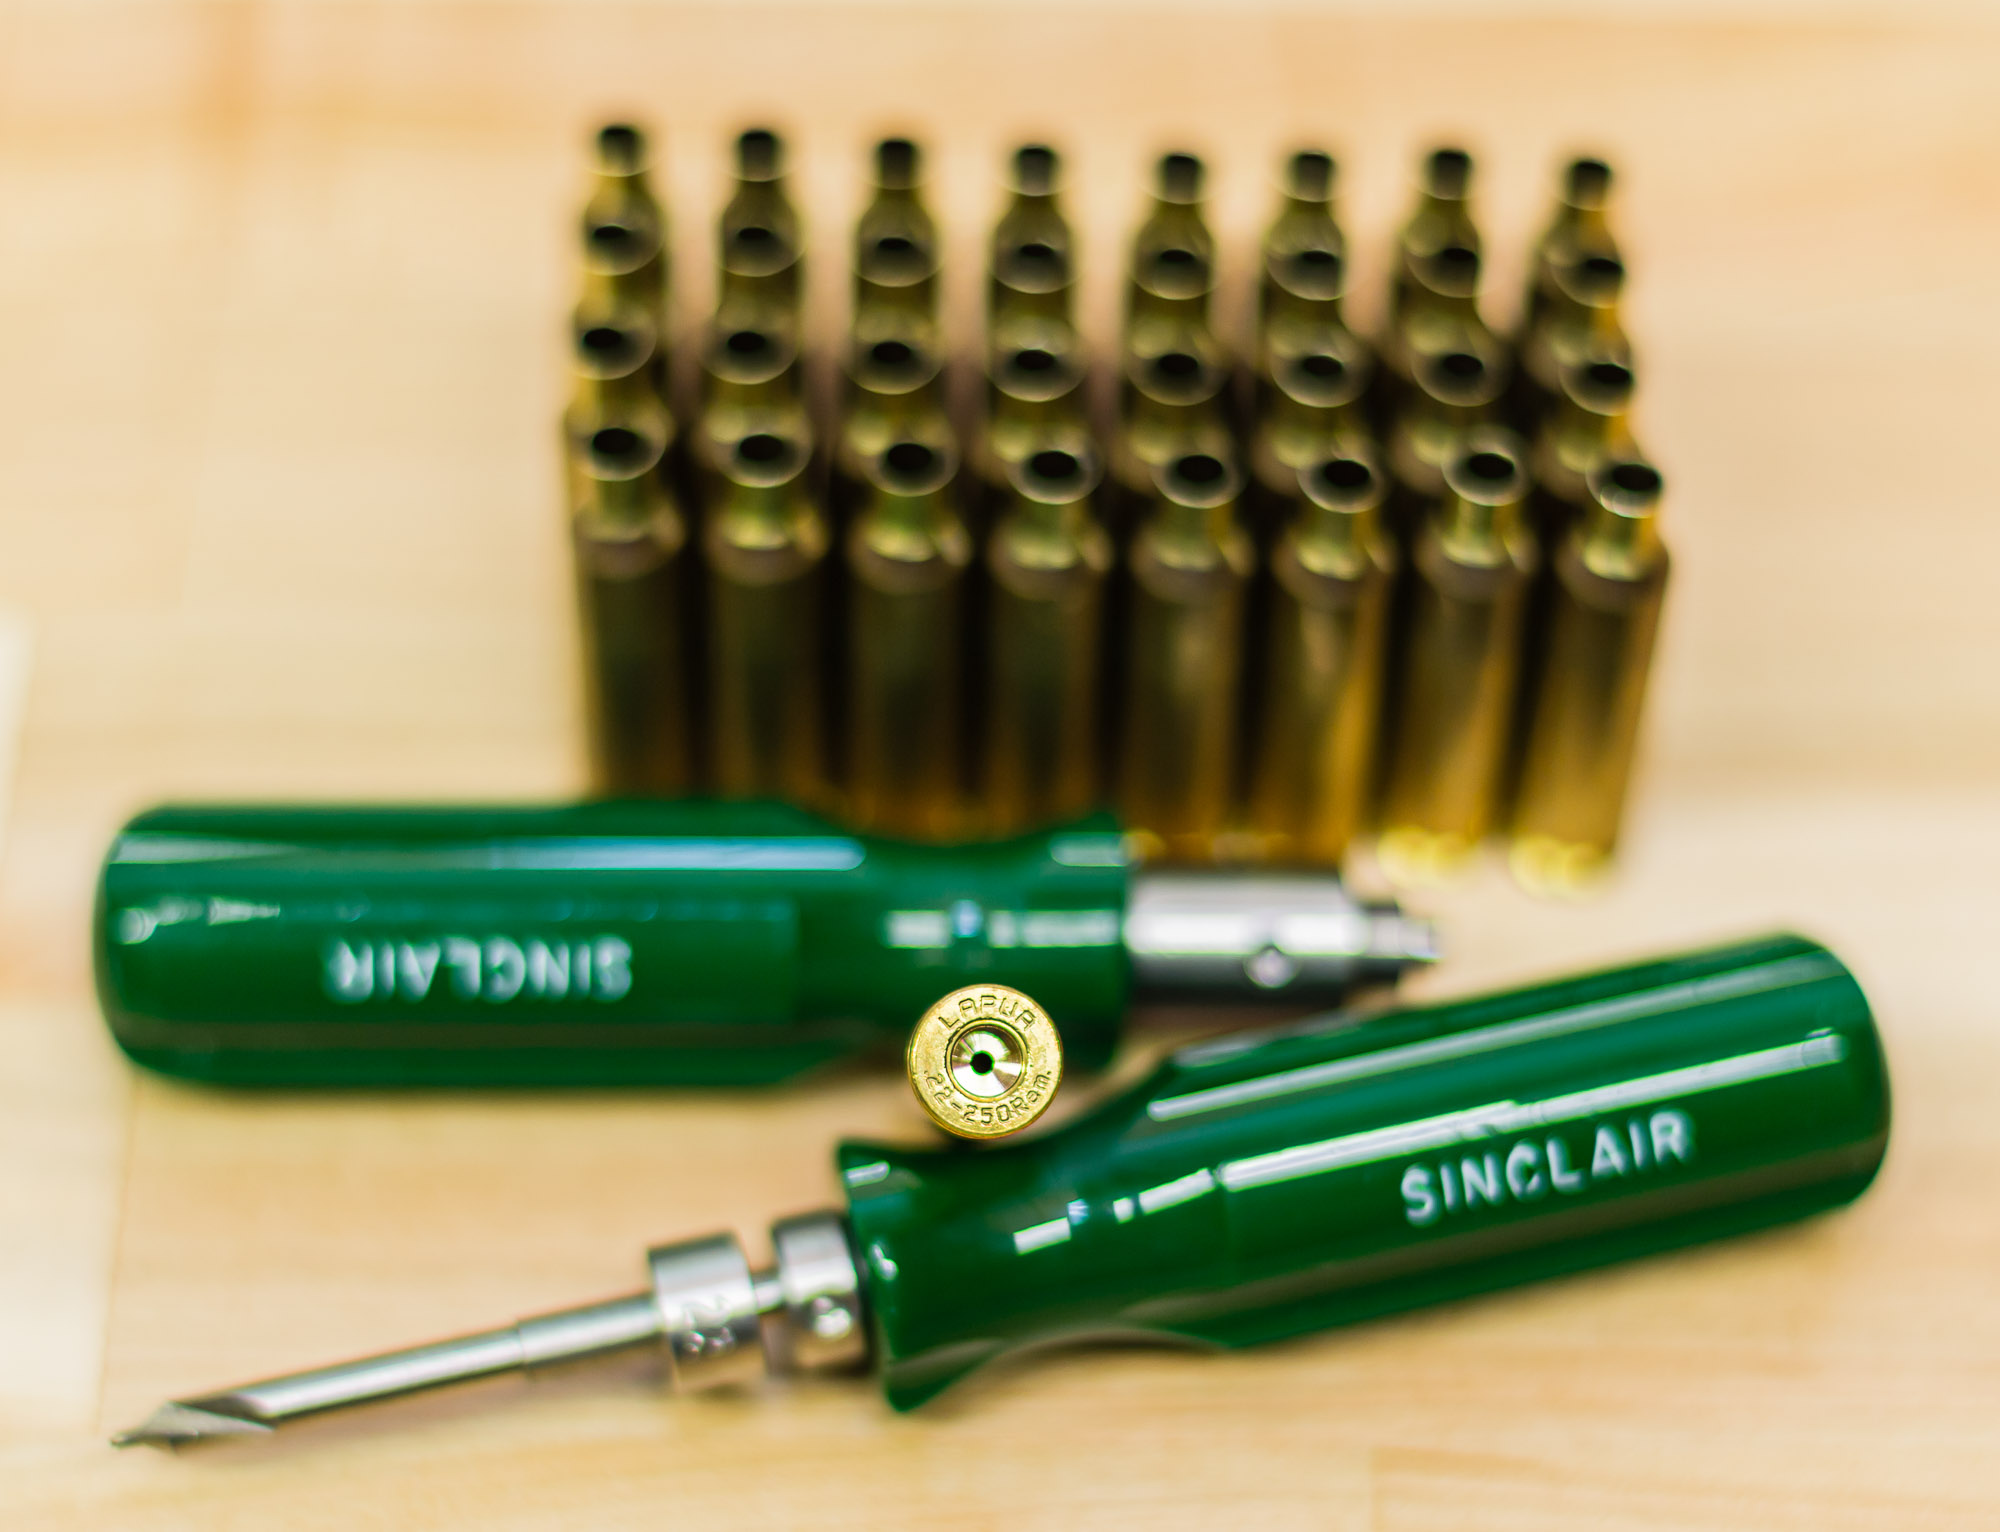
HOW: A Sinclair Carbide VLD Case Mouth Chamfering Tool is a well-built, handheld way to chamfer the case mouths. To combat those hand pains and speed up the process, purchase a chamfer tool that can be inserted into a cordless drill.
Step 4
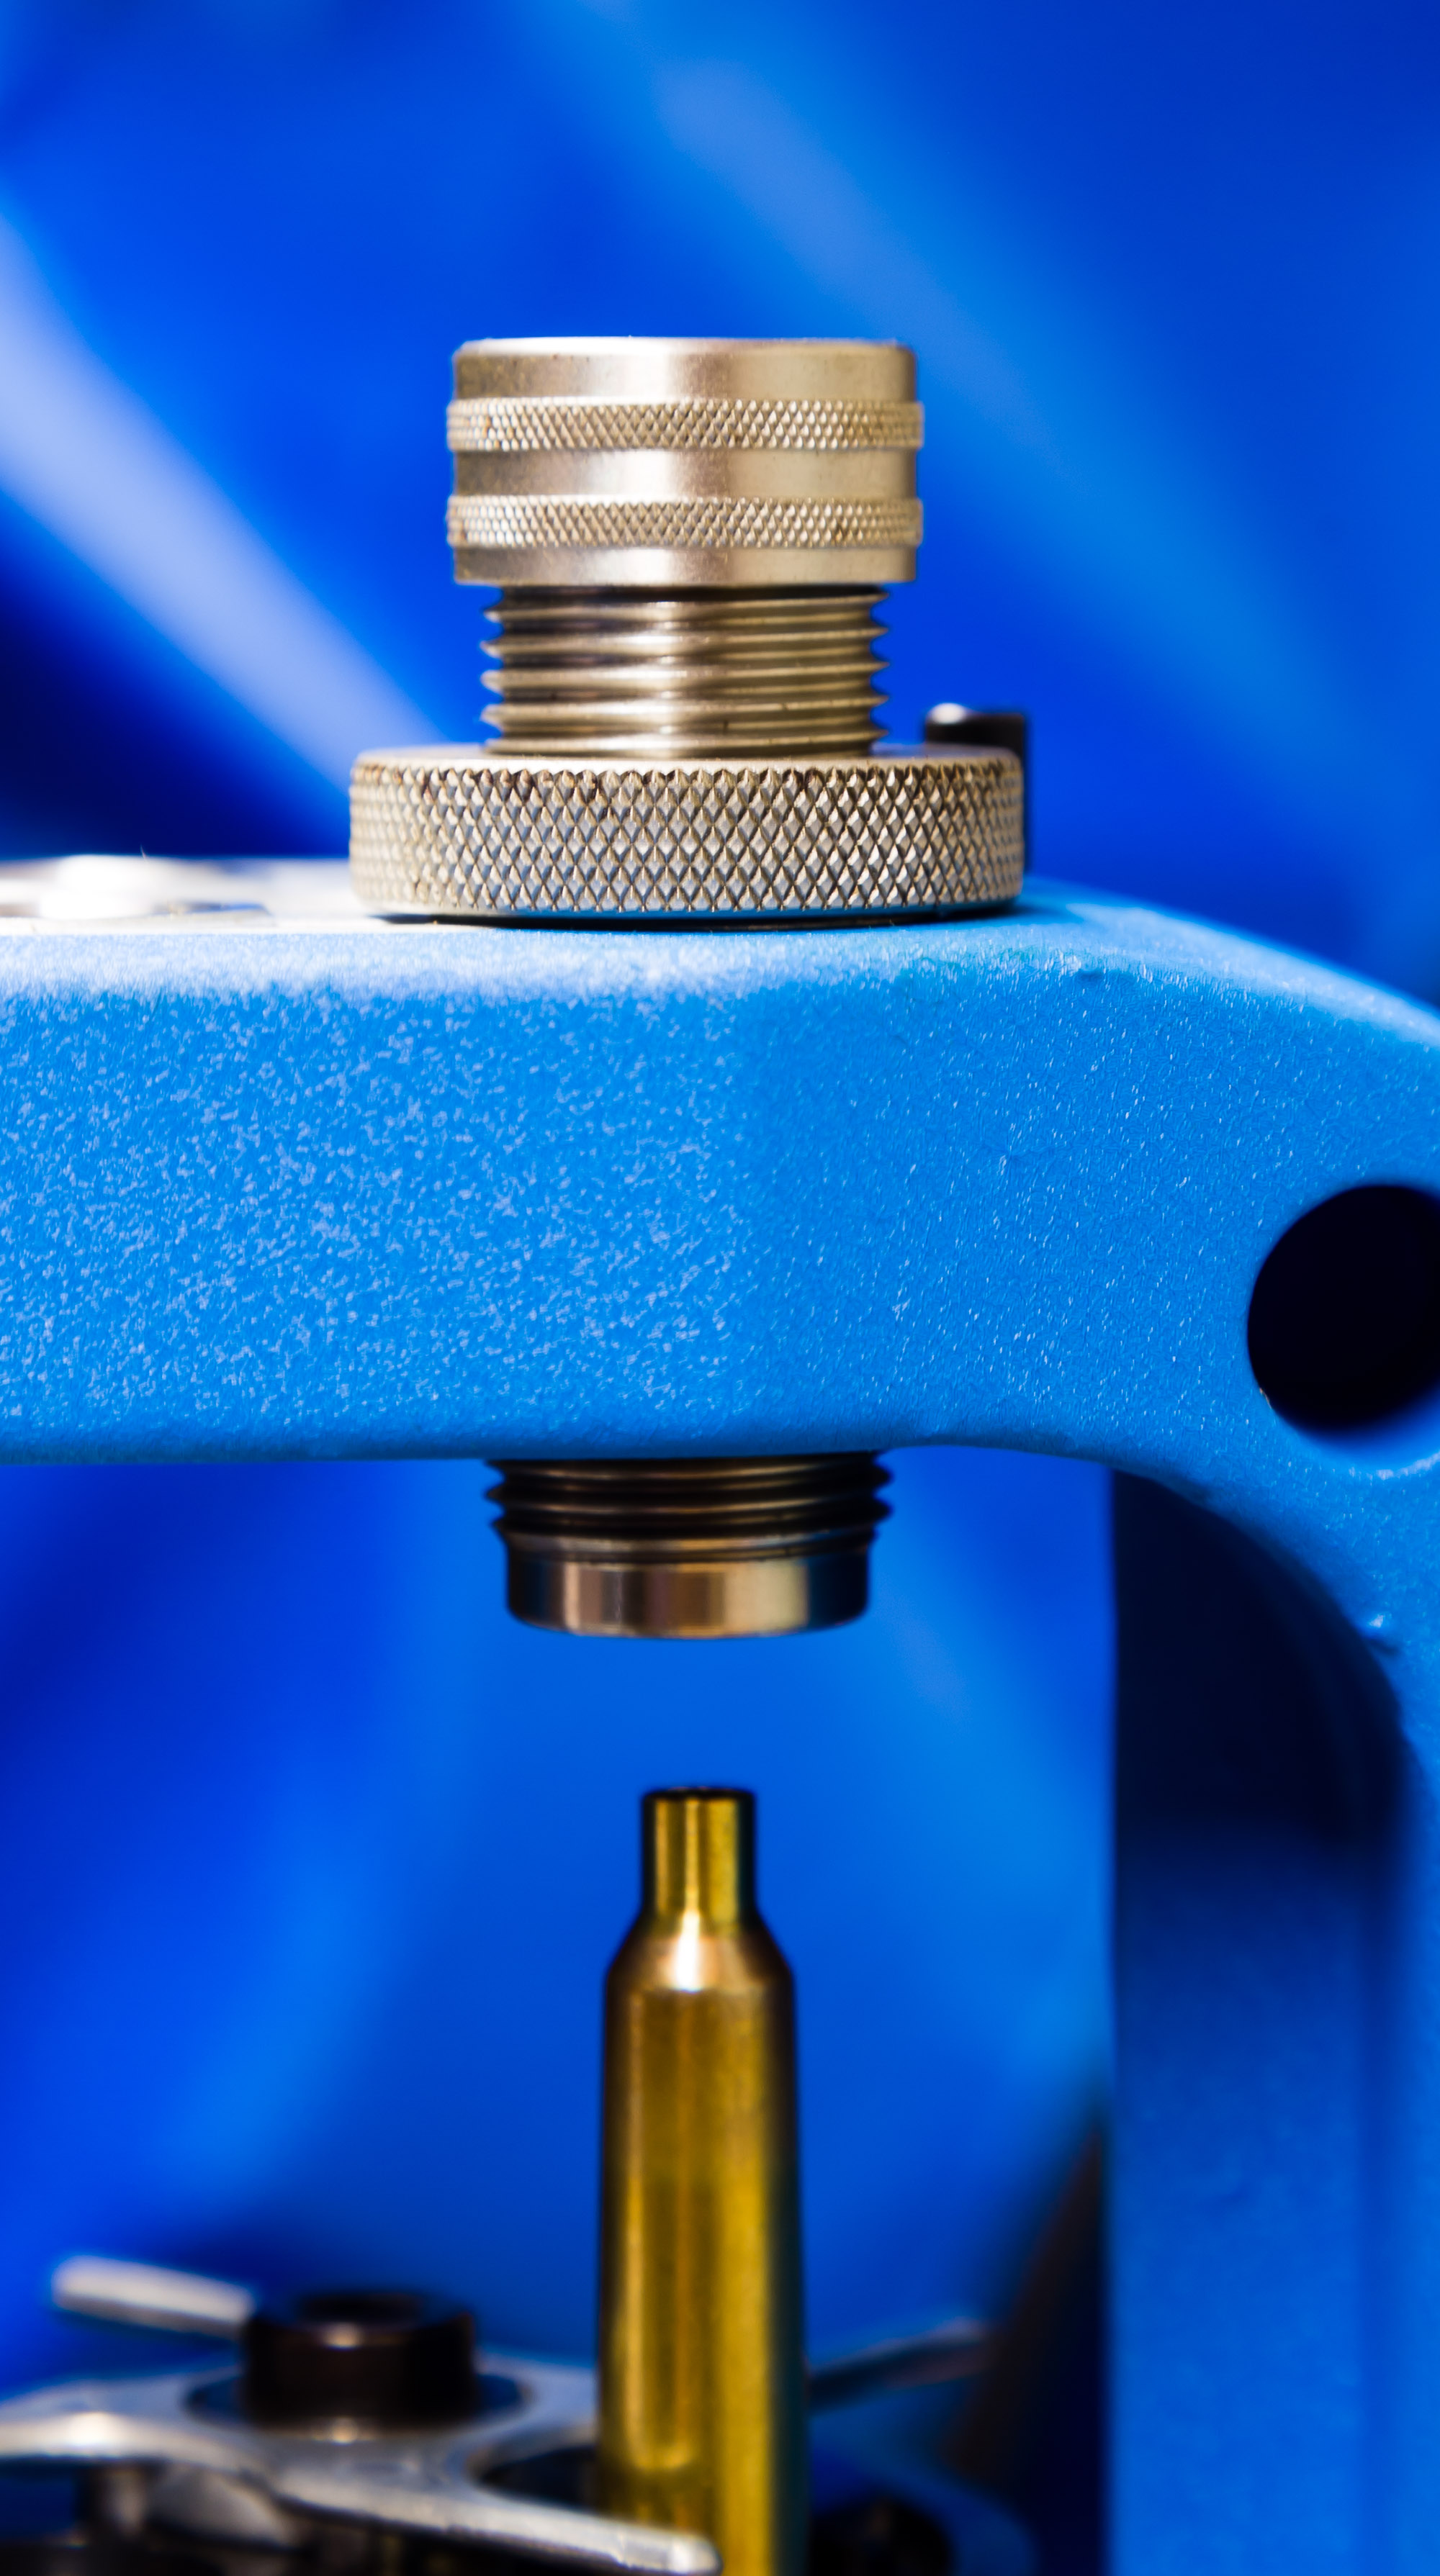
WHY: Step 4 prepares the neck diameters for the next step of neck turning. In order for the neck turning mandrel to fit snuggly into the case mouth, the neck diameter must be expanded.
HOW: Pictured is a Sinclair Generation II Expander Die that will expand the necks .001” larger than the turning mandrel. Using an expander mandrel prior to neck turning sizes the case to fit the neck turning mandrels perfectly.
Step 5
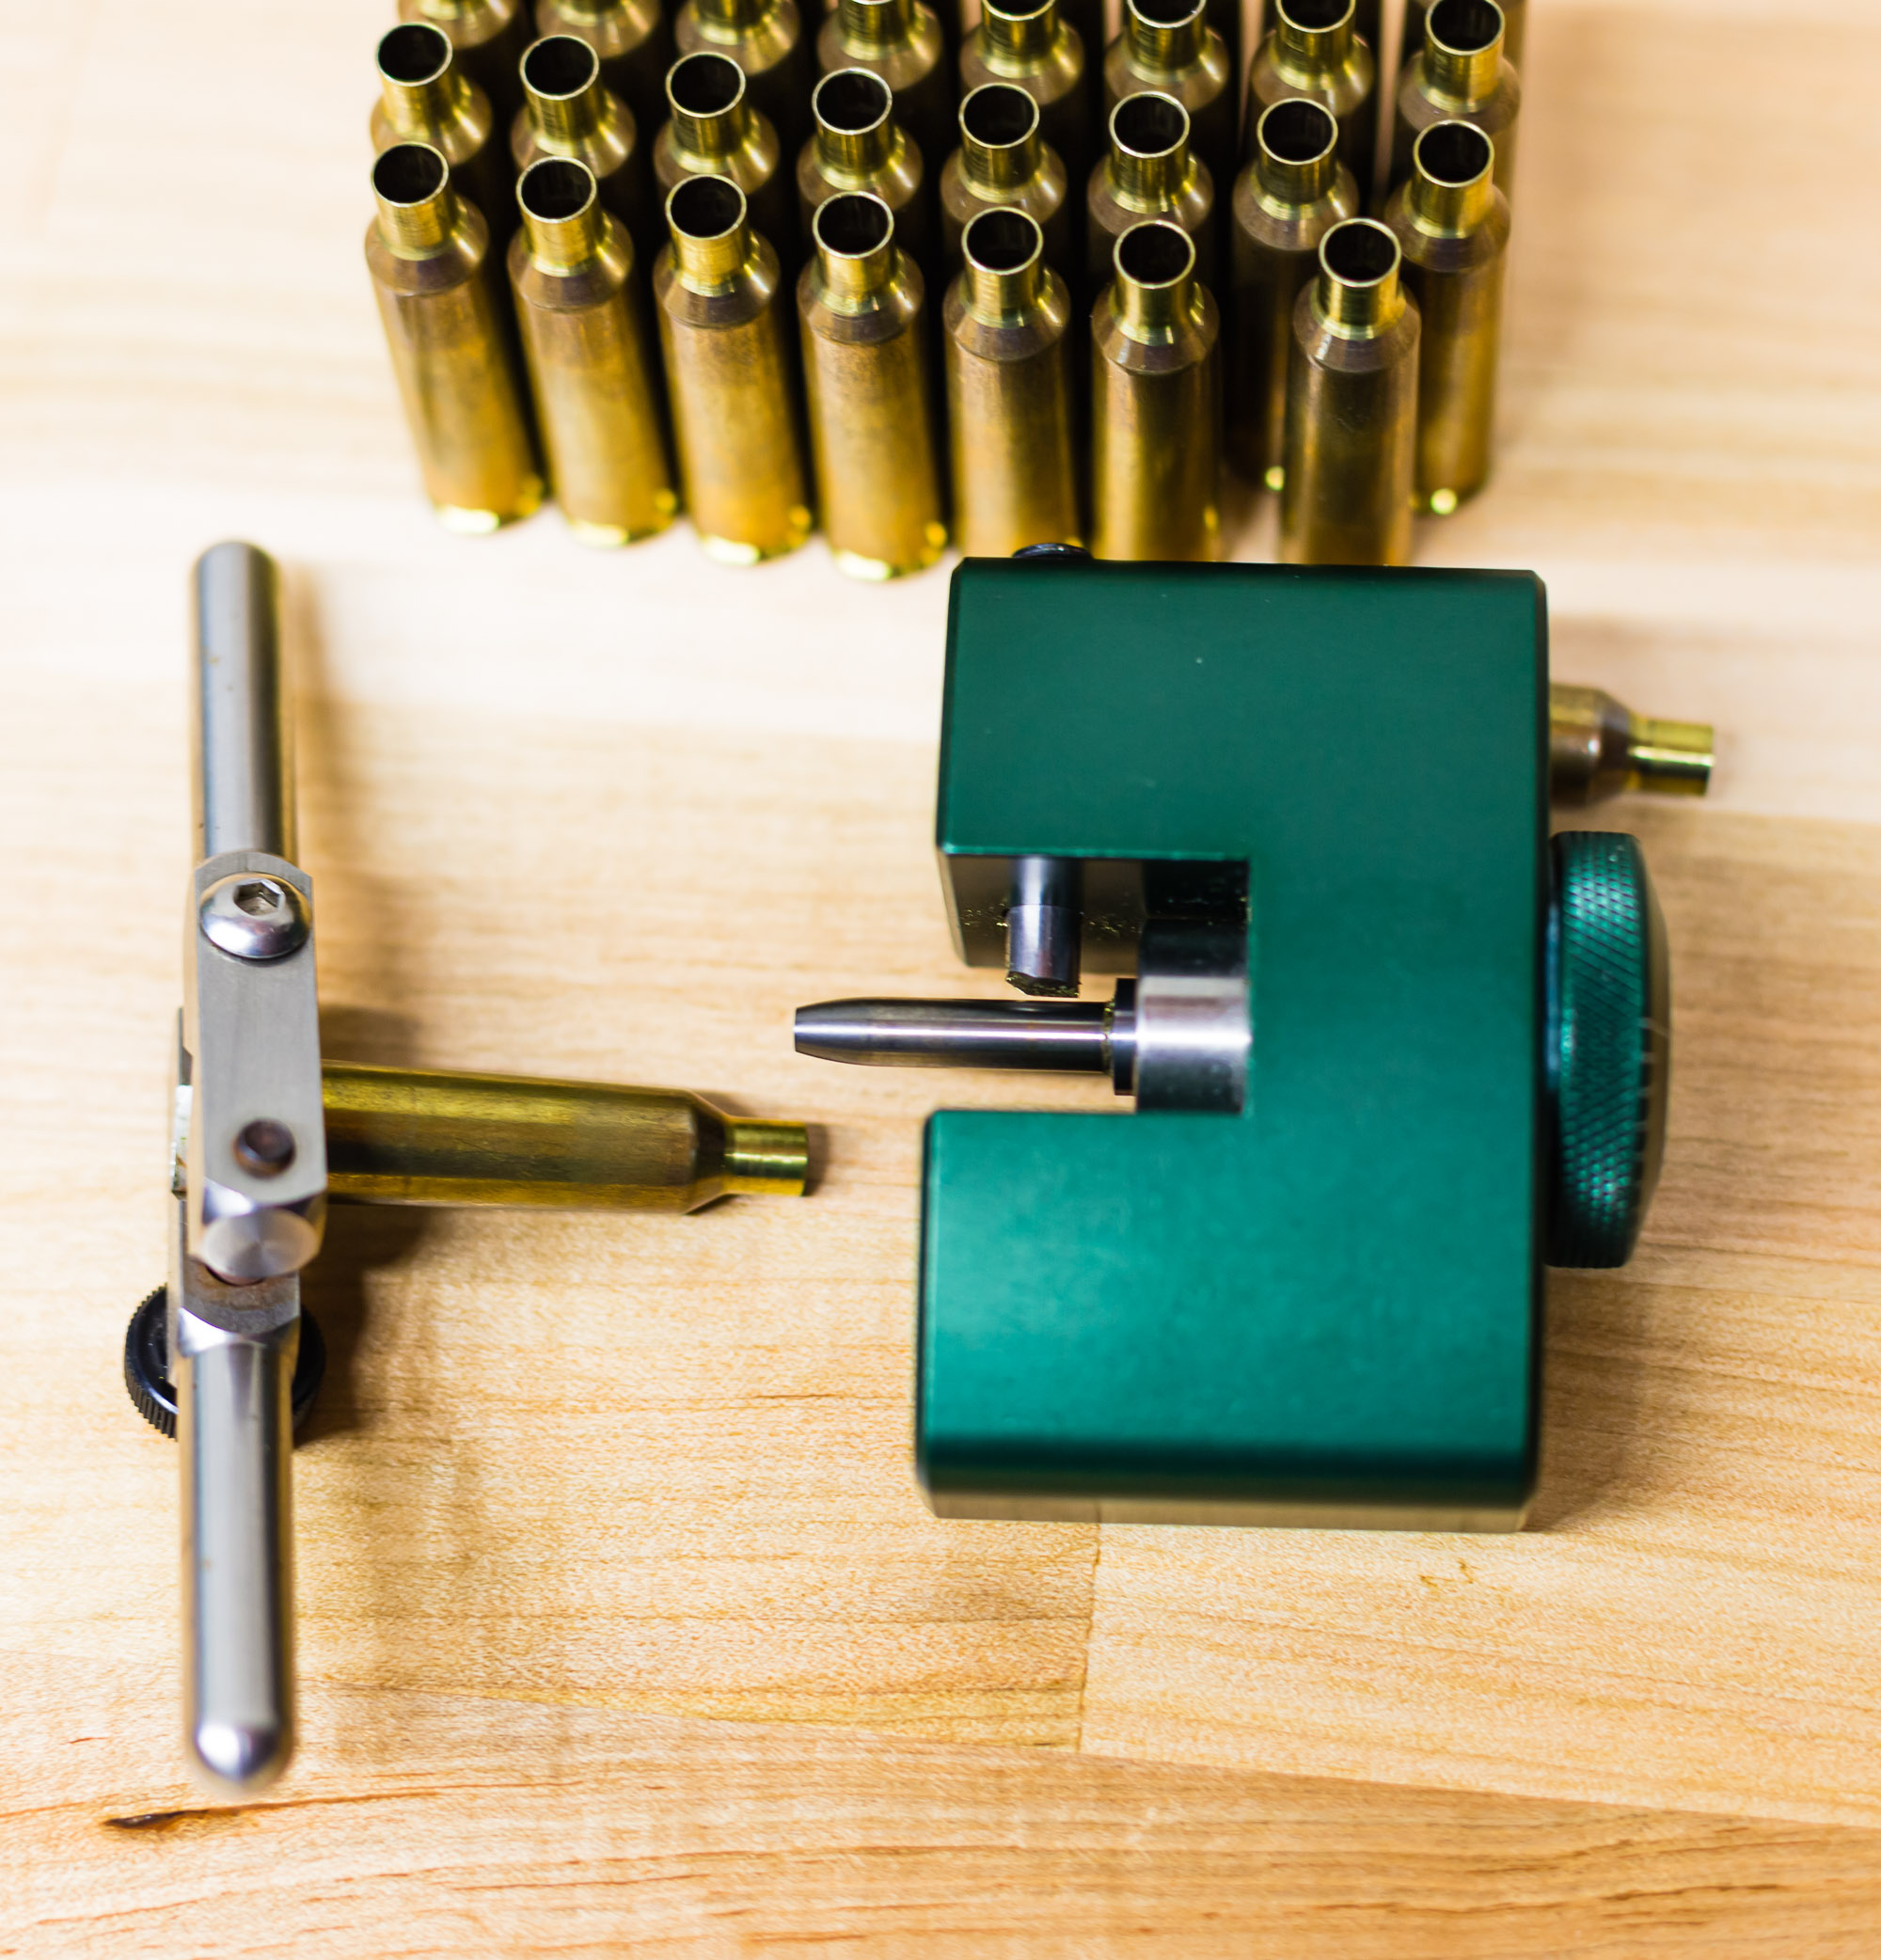
WHY: Neck turning will give us a uniform neck wall thickness that helps in providing even pressure on all of your bullets. Having identical bullet release tensions will help to provide more consistent velocities.
HOW: The fit of the case neck on the turning mandrel is critical to quality neck turning. To accomplish this, you must expand the case neck as discussed in Step 4 before continuing with this step.
First, apply a quality lube on the turning mandrel. We like “Shooters Choice FP-10”. Place one drop on the mandrel and evenly rotate the cutter at a speed that cleans off the hair-like threads of brass. If the case neck looks like they are “threaded”, you are probably turning the cutter too fast. Be sure you continue to cut all the way to the shoulder, you want to cut into the neck shoulder junction. If you stop short of the shoulder junction, cases can often develop a “donut” at the junction angle. This donut must be removed to create consistent pressures. To remove the cutter from the case make sure you spin it no faster than you fed it on and never turn backwards.
Step 6
WHY: This step will create consistent ignition from case to case.
HOW: The Sinclair Piloted Flash Hole Deburring Tool uses their stainless steel neck pilots that allows precise adjustment of cutting depth. Since we trimmed our cases to length in Step 2, each flash hole can be cut to identical depth. [Many studies have shown that if using Lapua brass, it is unnecessary to ream or even clean the flash holes.]
The Sinclair Primer Pocket Uniformer will cut the primer pocket to a uniform depth and also square off the bottom of the pocket in relation to the case head.
Step 7
WHY: Adjusting the neck tension will help produce our biggest gains in better groups, less of a spread in velocity, and an improved standard deviation.
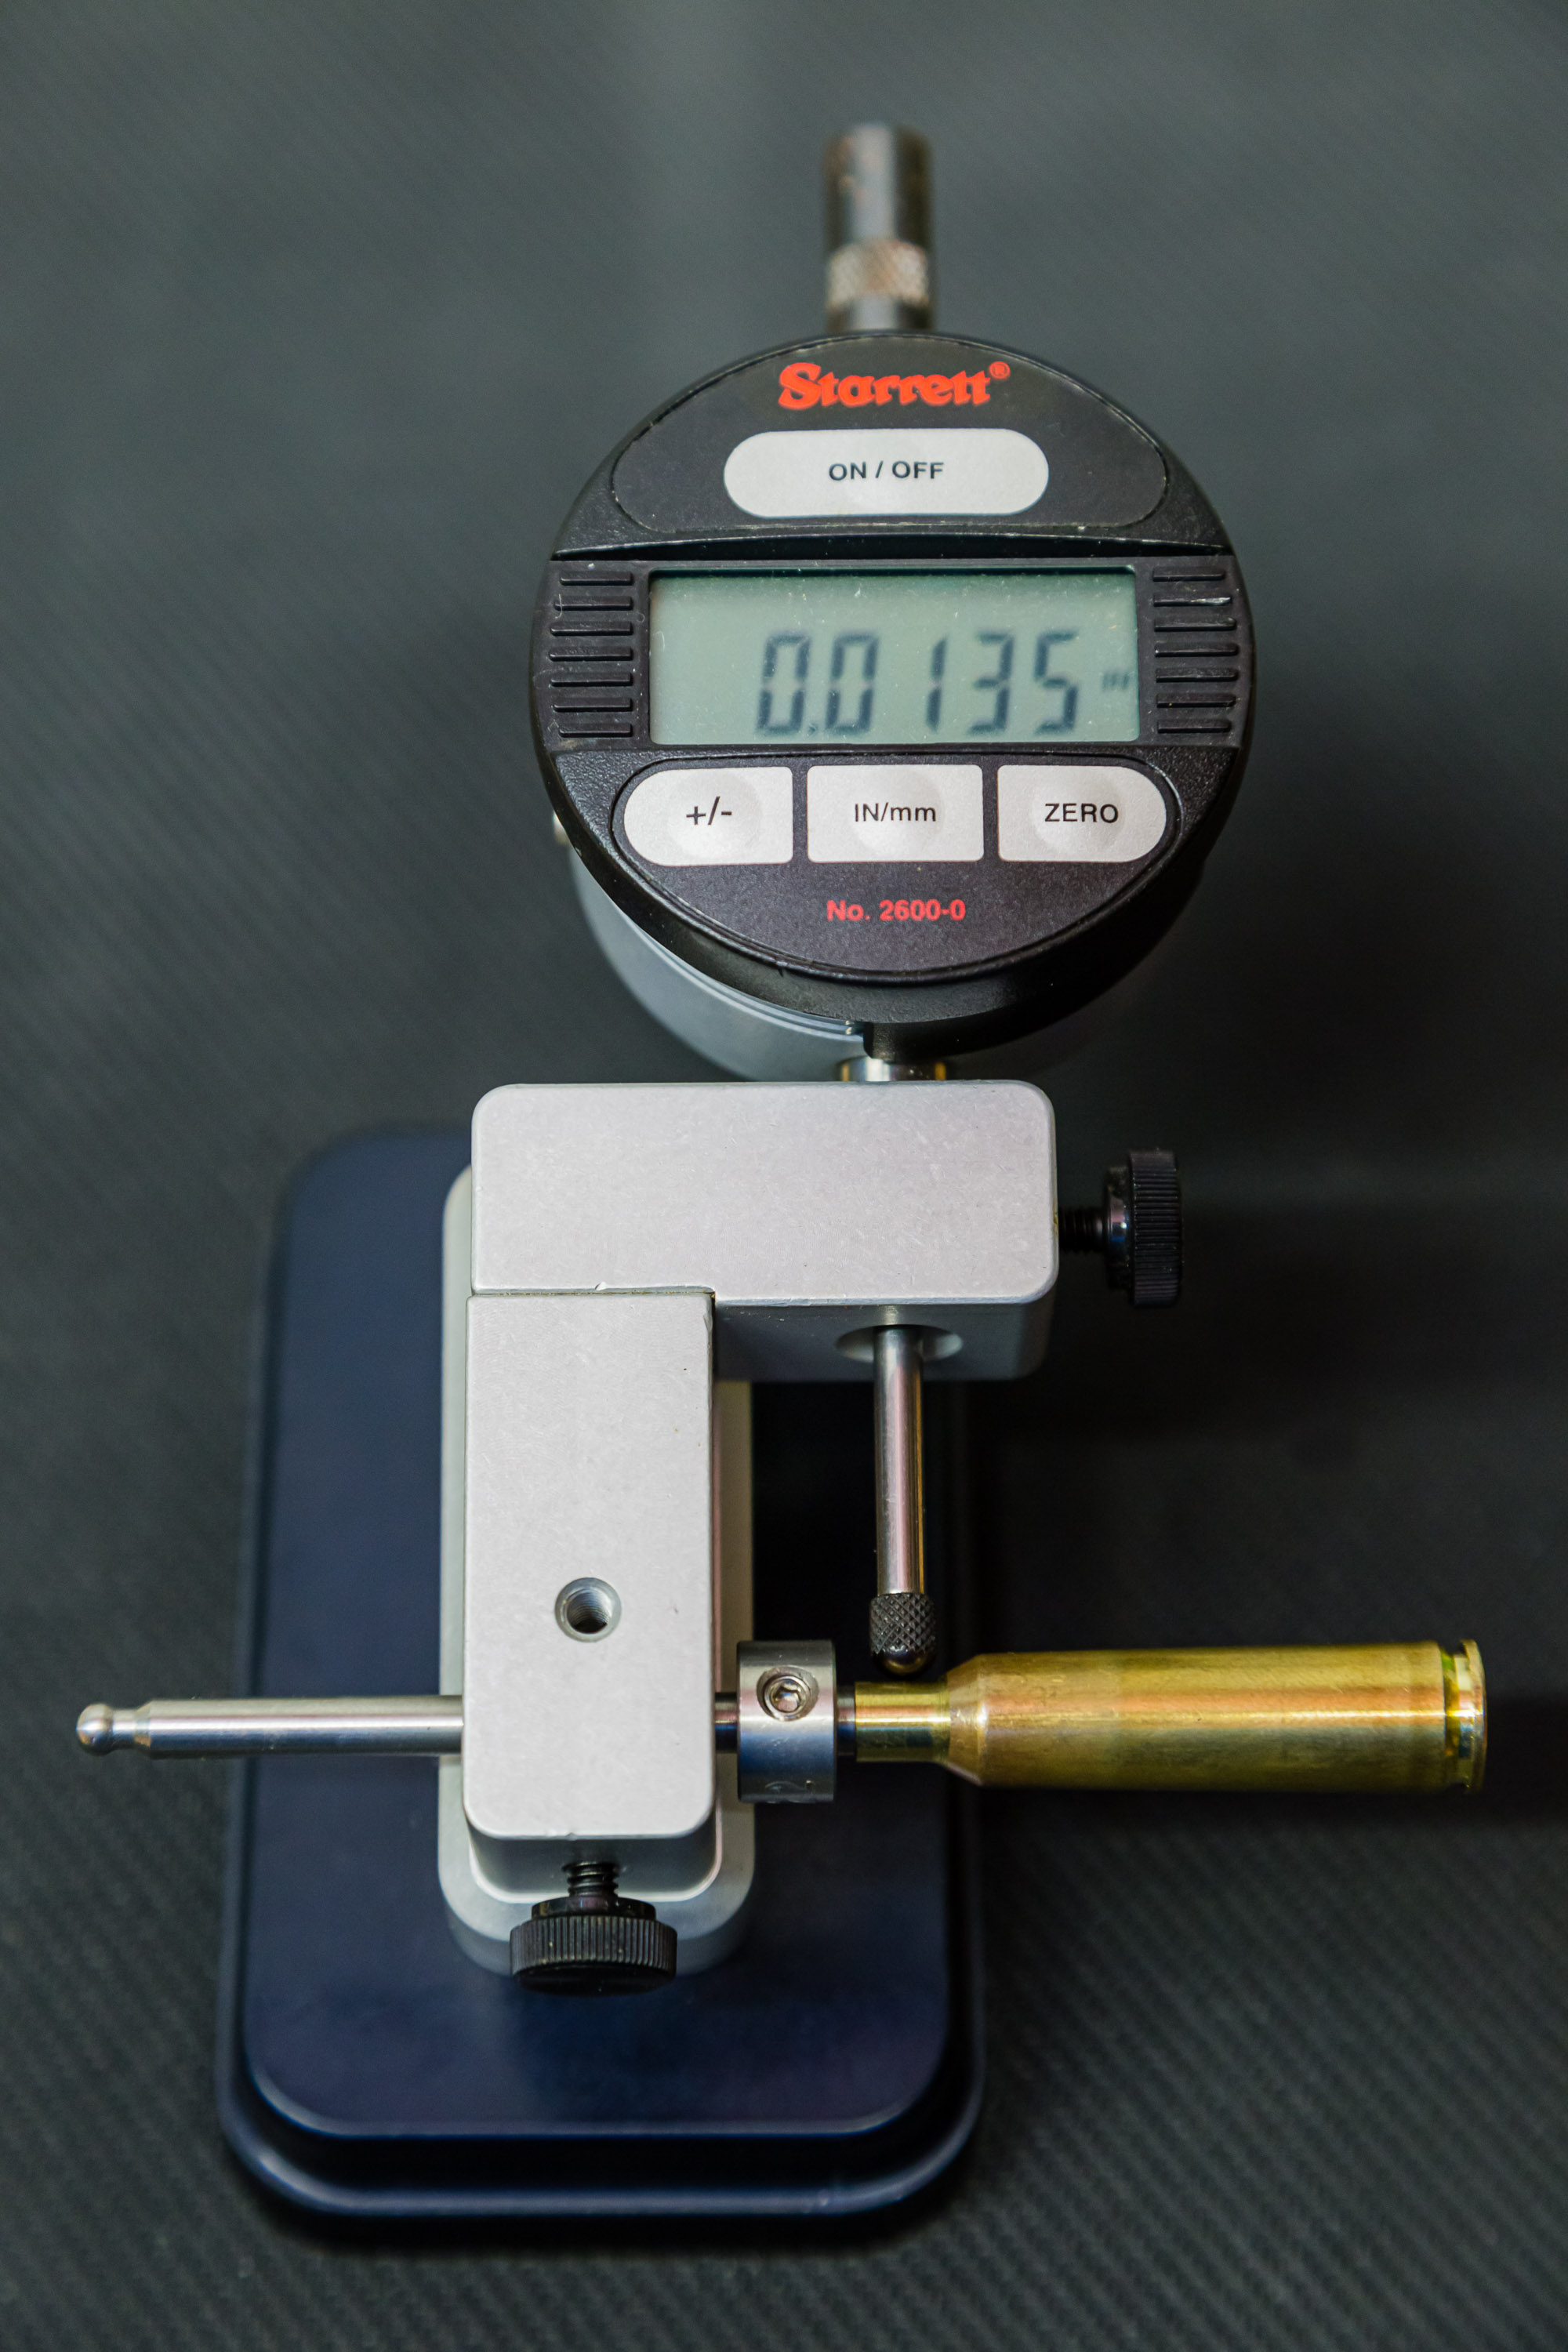
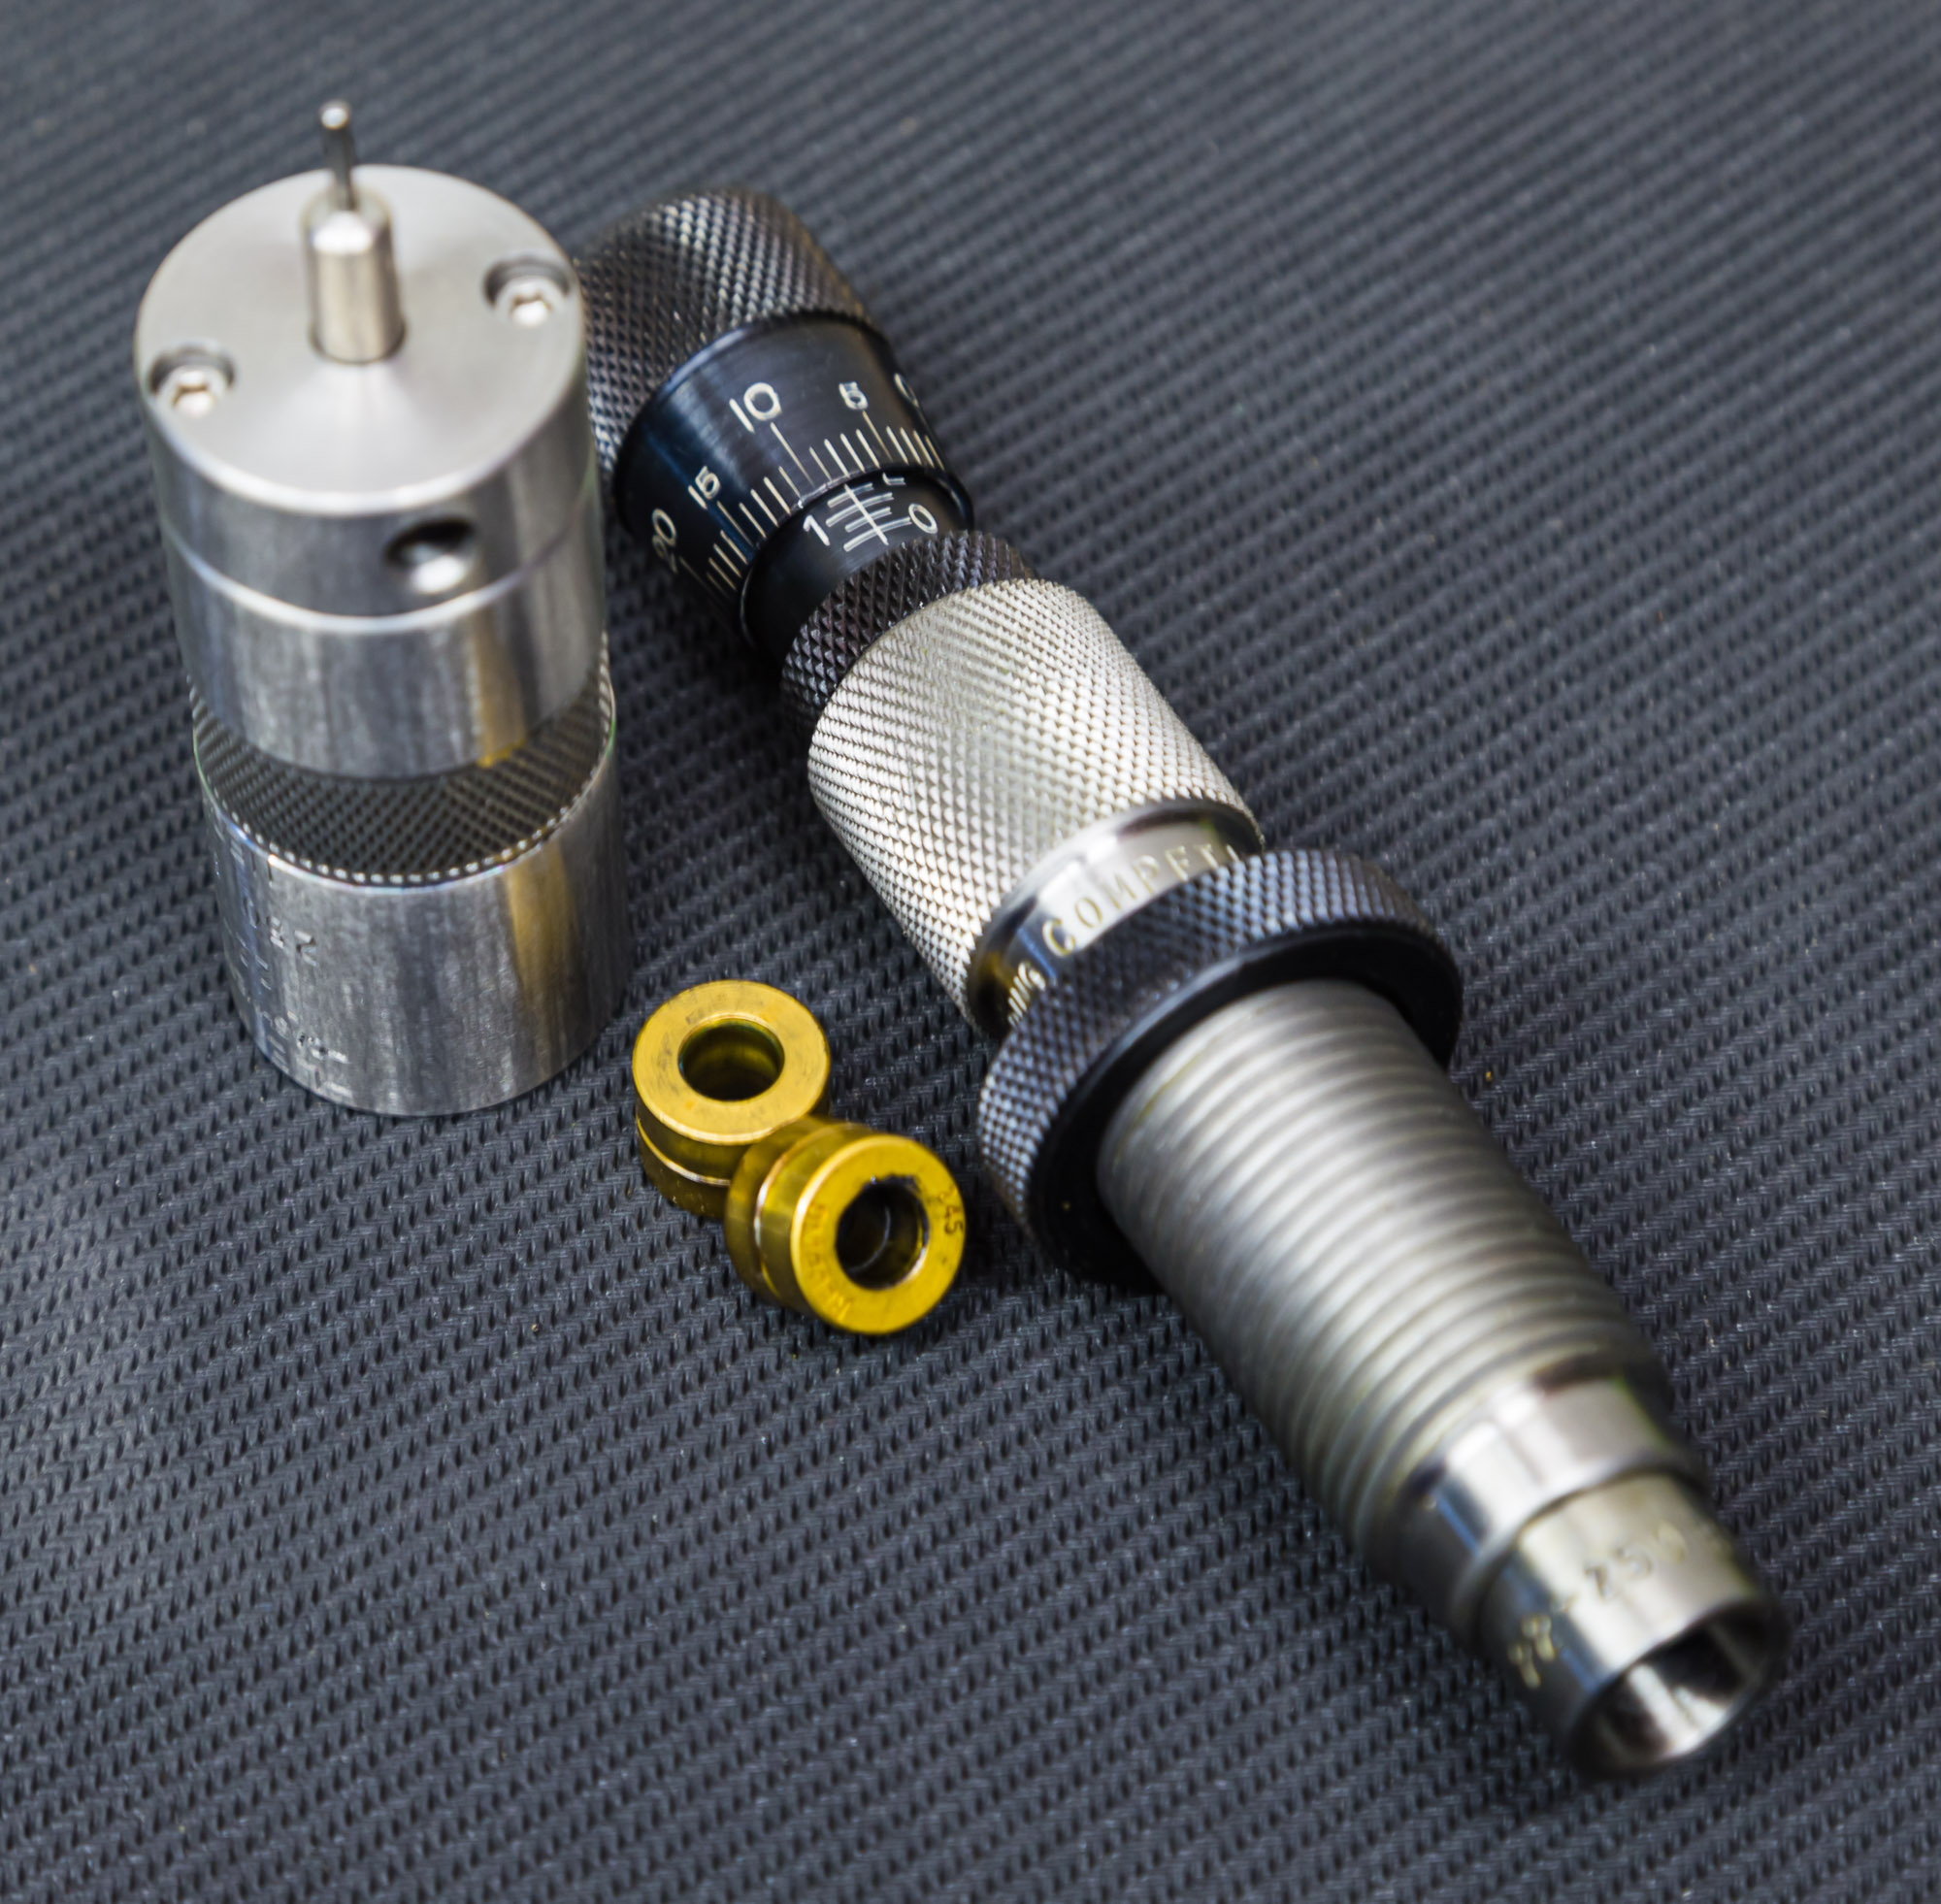
HOW: We use L.E. Wilson in-line hand dies, but if you are a regular press kinda guy, we suggest neck dies by Redding. Both of these dies use sizing bushings, so this step applies to both. To find what bushing you will need for your neck, you can use the following method. First, you will need to measure the thickness of your neck walls. You can do this with a micrometer or, for a more accurate reading, a case neck sorting tool. We use the Sinclair Case Neck Sorting Tool. Like the Sinclair Piloted Flash Hole Deburring Tool, this tool uses a neck pilot on a support pin that goes through the cases flash hole. The cases are then rotated under an indicator tip giving accurate neck thickness measurements. Once you get your average neck wall thickness you have everything that you need to calculate your loaded neck diameter. For our neck bushing formula, multiply the thickness of the neck wall by two and add that to the diameter of the bullet. See below for the formula:
Bullet Diameter + (Neck Wall Thickness x 2) = Loaded Neck Diameter
Example: for our .224 bullet in a 22-250 Remington case with the neck turned to .0135” thick, the formula would be: .224 + 2(.0135) = .251”. Next you will have play with different size bushings to see what your gun likes best. We would recommend ordering three neck bushing to start. One that is .001” less than the calculated dimension above (.251”), one that is .002” less, and one that is .003” less or .250, .249, and .248.
Step 8 - ???
Remember, our goal at DownWind Outdoors is to produce accurate loads for hunting, not thousand-yard competitions. You can really start getting obsessive by sorting cases into groups based on case concentricity and weights. For our purposes, steps 1-7 give superb accuracy and consistent velocity that is more than needed for hunting.
Hopefully, this article gives you a better understand of one of the aspects of reloading. In my case, writing this article was a nice refresher. If you have any questions or comments on this process, don’t hesitate to leave a comment down below.



No comment, but a question. I do the things you have shown here, but one thing that stills ruins my brass concentricity is when I pull the brass back out of the die and the neck expander ball is pulled through the neck. It pulls the neck out of round, sometimes by four or even five thousands of an inch. How can I squeeze the neck down to hold the bullet and not mess up my case neck concentricity? I also have a die that only knocks the primer out, but then I have to squeeze the neck down in order to hold the bullet. Any ideas on how I should go about reloading and keeping the bullets true? Thanks for you r help in advance.
Scott McCreery
What die is this a problem with? Have you tried a dry neck lube like Imperial Dry Neck Lube